Serves two as appetizer/snack or one as light meal | 15 minutes total
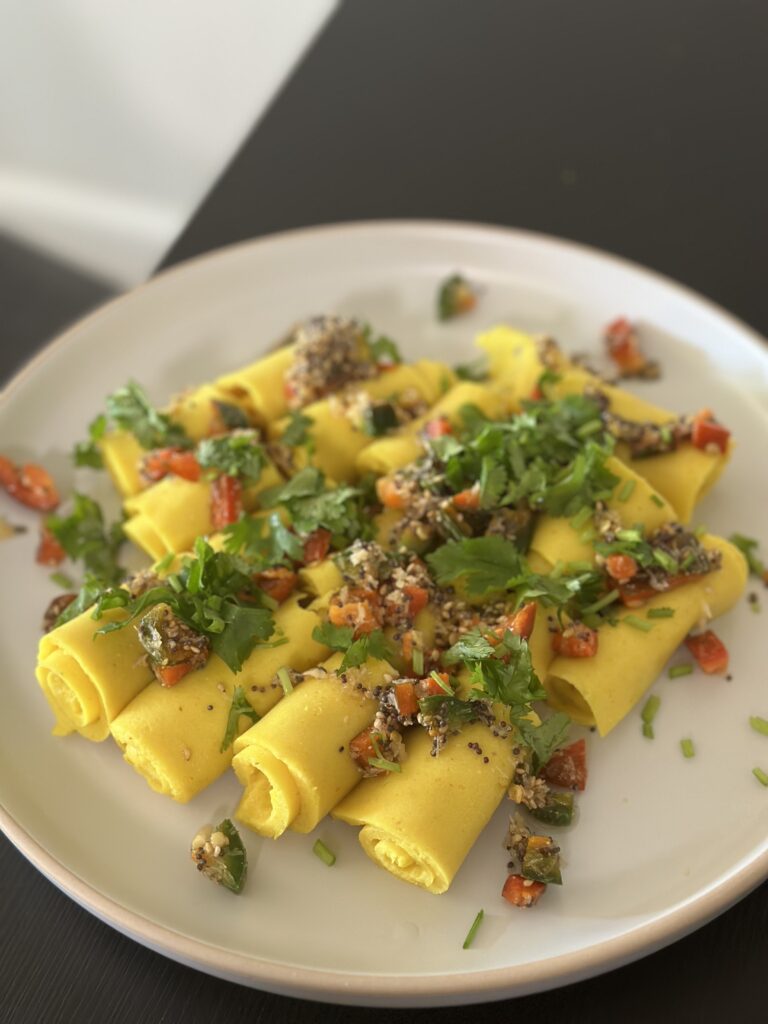
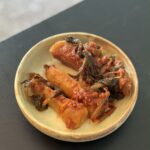
Khandvi is a delicious and healthy appetizer or snack commonly eaten in the Maharashtrian and Gujarati cuisines of India. It’s super quick and easy to make with only four ingredients: gram flour (also known as besan or chickpea flour), yogurt, water, and spices. It is then rolled up into petite, delicate bites topped with a variety of bloomed accompaniments such as curry leaves, cilantro leaves, mustard seeds, coconut flakes, jalapeños, sesame seeds, or even served with a side of ketchup! The resulting flavor is soft and buttery rolls with a hint of tanginess from the yogurt and lingering fragrance from the spices.
Khandvi, like many of the recipes on this blog, is not something I grew up eating. I was first introduced to khandvi by a good friend who had mentioned that growing up, her grandmother had often made this for her as an afternoon snack when she got home from school. However, buying the snack was harder than we thought. Khandvi was rarely available in restaurants (only one Indian restaurant in all of SF served it) and my friend never learned how to make it.
It was at that moment that I realized it was our calling to recreate it from scratch. Me—someone who had just heard about the dish three seconds ago, and her—doesn’t cook but ate it many many times. How hard could it be?
We convened in her tiny kitchen in SF on a Wednesday afternoon and slapdashed the dish together in less than twenty minutes on our first try! There were definitely some mistakes–I had forgotten to bring a Silpat to her house which would have made the job a lot easier and half of the batter had solidified before we had enough time to spread it. But overall, she said that it tasted exactly like her childhood memories which was enough validation for me. Bonus points, her dog found the nubs of khandvi to be delicious too!
In the weeks that followed, I made khandvi at least two to three times a week. This week alone I made it four days in a row. It’s safe to say that I can now make khandvi in my sleep.
After experimenting with different spices such as cumin and paprika (totally not traditional, I know), comparing powder vs fresh grated ginger, and replacing fresh peppers with dried chili flakes, I present my favorite recipe so far. I hope you enjoy it!
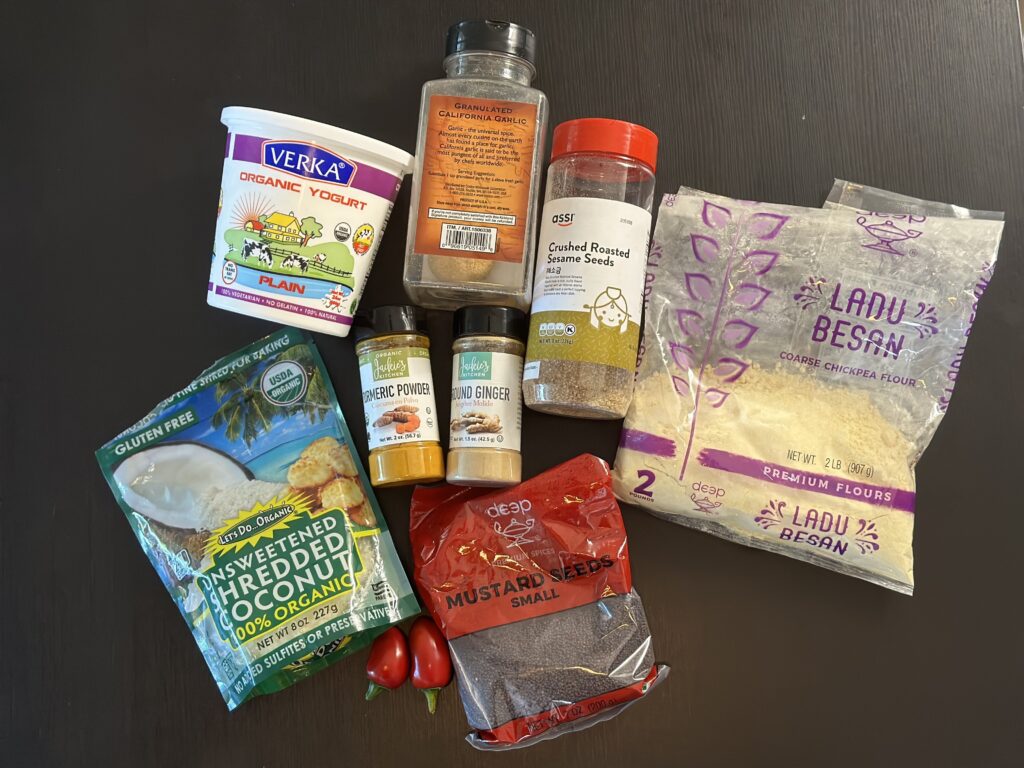
Ingredients
Batter
- 1/2 cup Plain whole milk yogurt
- 1/2 cup Gram flour (or besan flour or chickpea flour)
- 1 cup Filtered water
- 1/4 tsp Ground ginger powder
- 1/4 tsp Ground garlic powder
- 1/4 tsp Turmeric
- 1/4 tsp Salt
Toppings
- 3 tbsp Neutral cooking oil
- 1 tbsp Mustard seeds
- 2 tsp Unsweetened coconut flakes
- 2 tsp Sesame seeds (crushed or whole, white or black)
- 1/8 cup chopped Cilantro
- 1 large Jalapeño diced
- Substitution Note: You can substitute with 1 tsp red chile flakes or your favorite chili pepper. For non-spicy version, use small sweet peppers to still deliver sweetness and texture.
- Recommendation: I HIGHLY recommend tasting the jalapeño to test the spice level. Some jalapeños are ridiculously hotter than others. Deseed and remove the veins to decrease the heat if you’re a spicy noob like me.
- Pinch of Maldon Sea Salt
- Pinch of MSG (optional BUT really brings out the flavor of the dish while adding minimal sodium. And yes! MSG is safe in normal quantities as with most food)
Steps
Read through all the steps before starting the recipe! Things go fast from start to end.
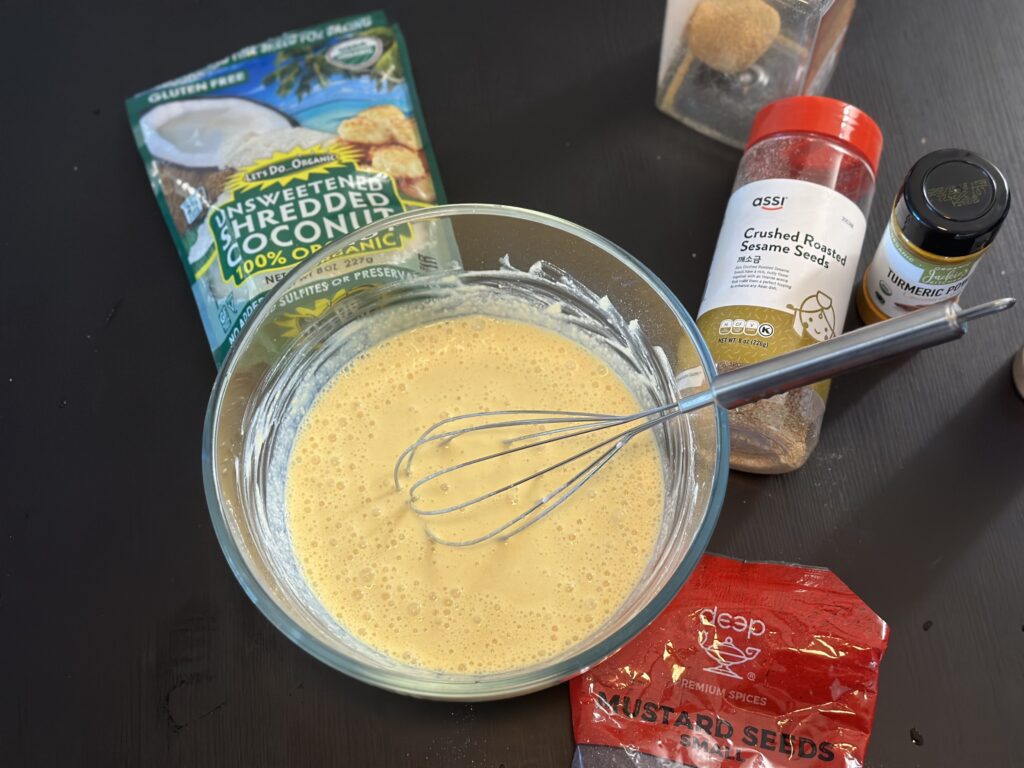
- In a medium bowl, whisk together all of the ingredients listed under “Batter” until there are no clumps at all. The smoother the batter the smoother the final khandvi.
- Heat a nonstick pan over medium heat and pour in the batter. Using a rubber spatula, stir the batter constantly by scraping around the side of the pan and on the bottom of the pan, folding the batter in on itself. The batter will sometimes begin to thicken almost immediately, this is totally normal.
- Depending on the heat of your stove, the batter will fully thicken in about 1-2 minutes. Continue to fold the batter until the texture is no longer runny and has a pliant, bouncy texture. Remove from the heat immediately.
4. Using the spatula, test the batter by spreading a small amount onto a silicone baking sheet (If you don’t have a silicone mat like a Silpat, a nonstick rectangular baking sheet should be okay.)
5. Wait for the batter to solidify for 10 seconds. If you can easily remove it from the silicone mat and roll it up then it’s ready, otherwise return the batter to the stove and continue stirring and heating over medium.
6. If the batter is ready, transfer all of the batter onto the baking sheet. Using the silicone spatula, work quickly to spread the batter evenly and as thin as possible across the silicone mat. Let the batter solidify for 20 seconds.
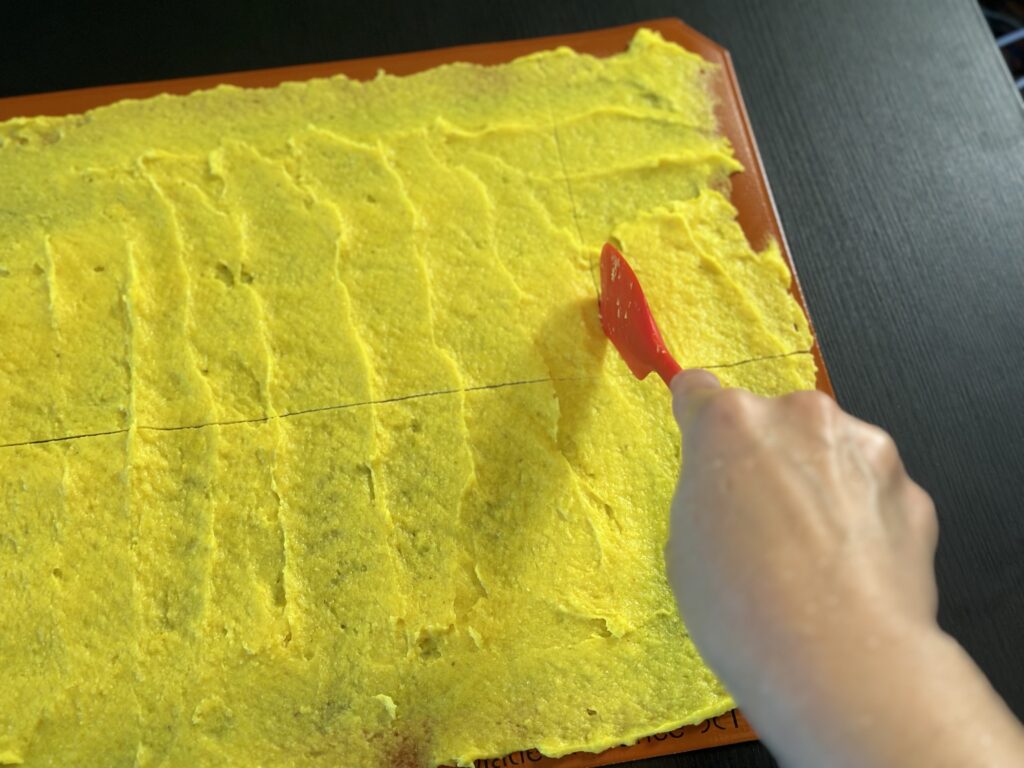
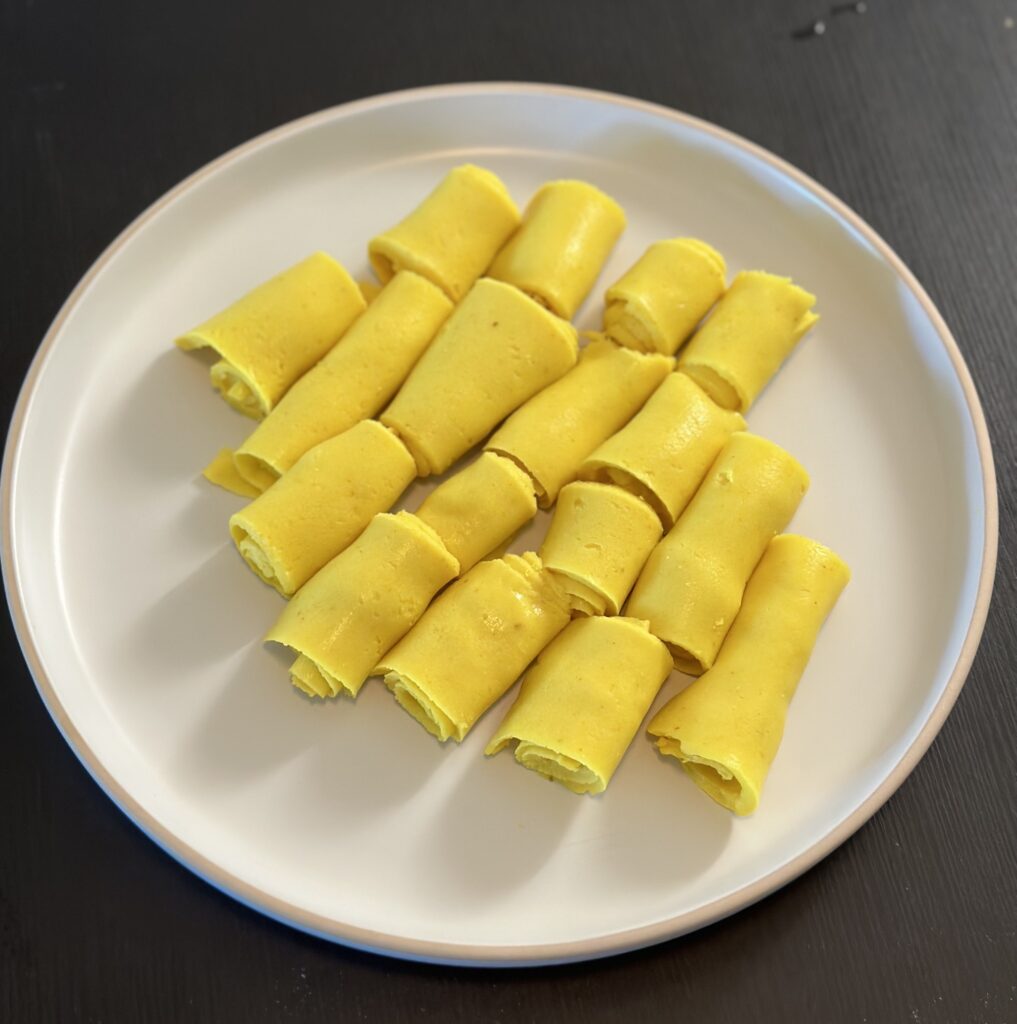
7. With the corner of the rubber spatula (do not use a knife for this!), divide the rectangle down the center vertically and then horizontally to form four portions. Then, carefully roll up each of the four rectangles into a log from the length side. Using the spatula cut the four long logs of khandvi into 2-3 cm (1 inch) bite size pieces and place them onto a serving plate.
Blooming the spices
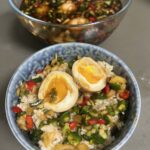
- Now we bloom the toppings. In a separate clean pan, heat 3 tablespoons of neutral oil over medium high heat. Add the mustard seeds right after.
- When the mustard seeds begin to sizzle around the edges, add in 2 teaspoons of sesame seeds.
- As soon as the first mustard seed begins to sputter (it will bounce itself out of the pan!), immediately add the diced jalapeño and coconut flakes. Turn off the heat and cover the pot to prevent mustard seeds from flying all over your kitchen.
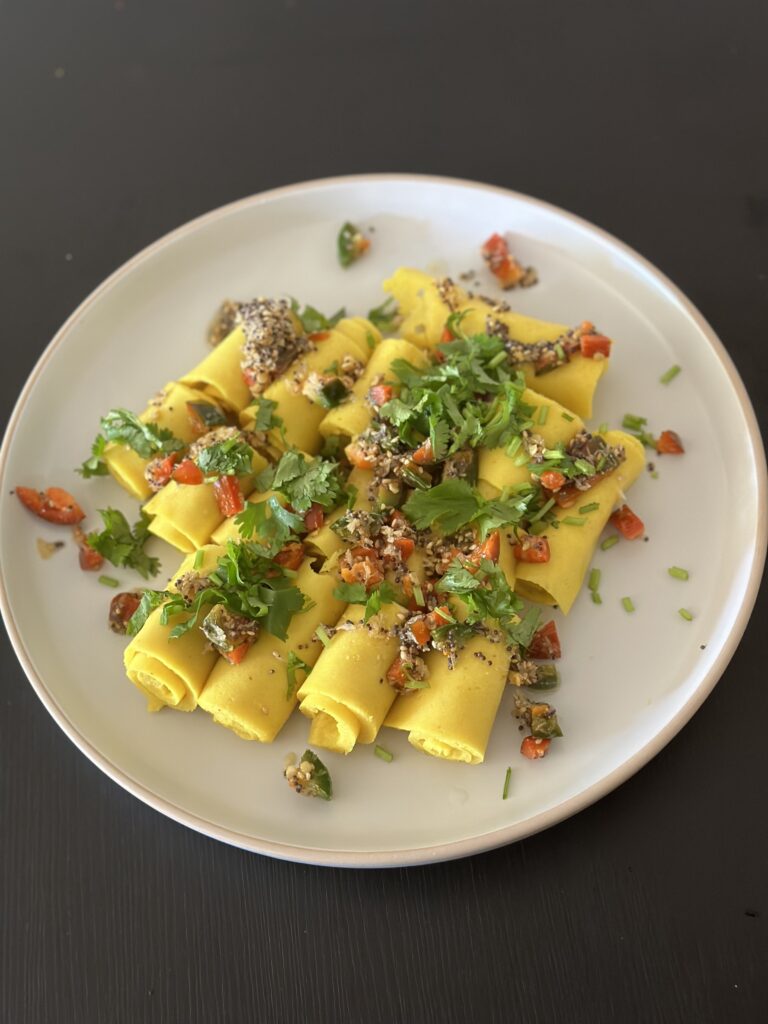
- Pour the bloomed seeds over the rolled khandvi and top with chopped cilantro, a spinkle of Maldon sea salt, and optionally a sprinkle of MSG. Cheers!

Can’t wait to make this myself using this special recipe 😀
I hope you like it!! 😀