Makes about 2.5 lbs of kimchi | Prep time: 1 hour and 20 minutes | Fermentation time: 2-3 days
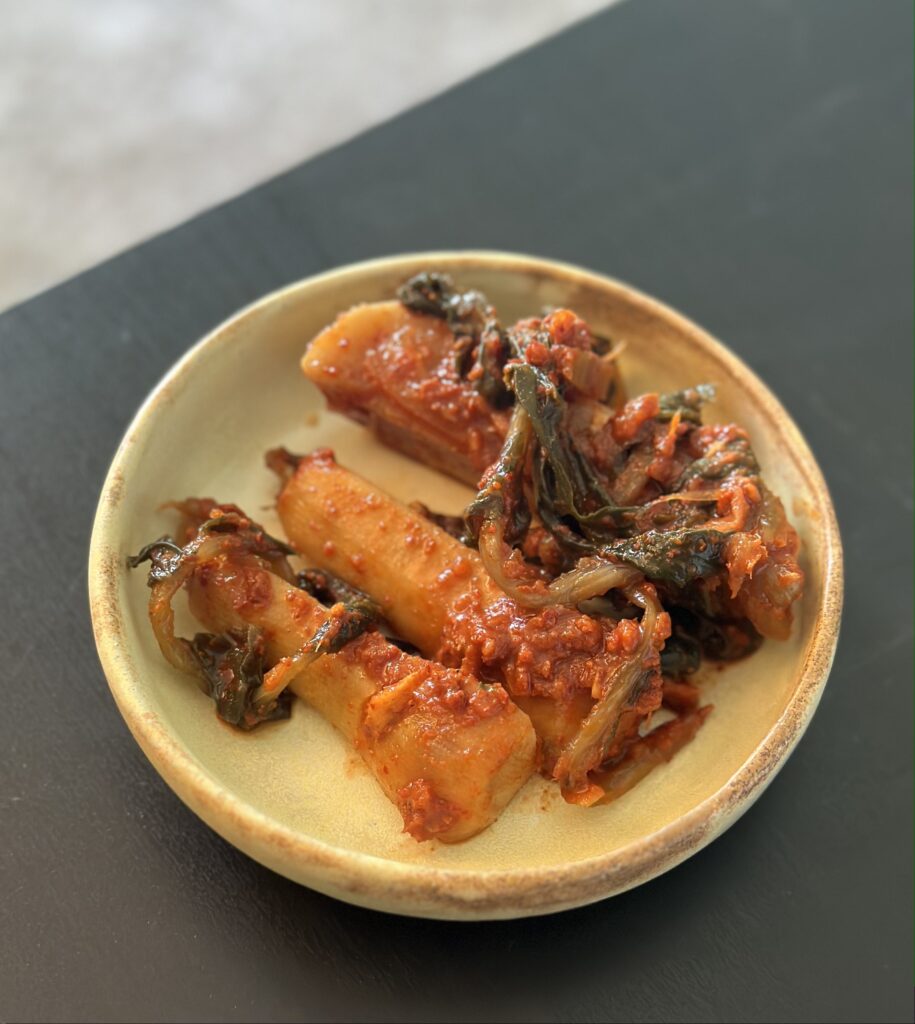
Chonggakmu also known as Chonggak radish directly translates to ponytail radish and are a special breed of small radishes perfect for making kimchi with crisp bite. They can be found easily at Korean supermarkets and are usually bundled with 3-4 radishes at a time. Look for the radishes with a lot of healthy green leaves and plump curvy bodies.
The radishes have a spicy kick of flavor that pairs well with gochugaru (Korean hot pepper flakes), the umami from garlic and fish sauce, and sweetness from the sugar. Oligosaccharide is commonly used in Korean cooking instead of sugar because it is thought to be healthier for the gut biome and better for people with diabetes (check with your doctor though, I’m not a doctor!) They’re also sold in all Korean markets and can be derived from many different fruits and vegetables such as potatoes and rice.
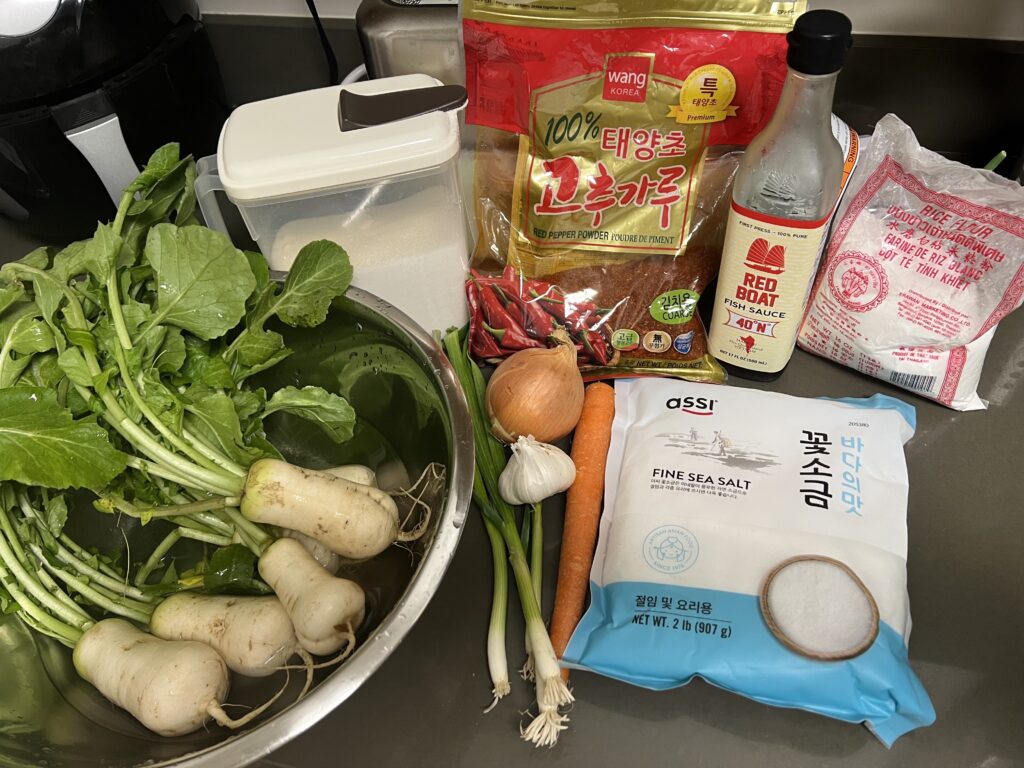
Ingredients
- 5-6 Chonggakmu or Chonggak radish (ponytail radish)
- 1/4 cup fine sea salt
- 3 large cloves of garlic, or 4 small ones
- 2 inch fresh ginger peeled, or 2 tbsp frozen grated ginger
- 1/2 large yellow onion
- 1 cup water
- 1/8 cup rice flour (not the glutinous kind!)
- 2 tbsp white sugar or 1 tbsp white sugar + 1 tbsp oligosaccharide
- 1/8 cup fish sauce
- 1/2 medium carrot
- 3 spring onions
- 1/2 cup gochugaru, Korean hot pepper flakes (not the powder!)
Equipment
- food processor or blender
- Clean and dry plastic or glass container with lid for fermenting, about 48oz. Do not use metal!
- Large bowl
- Vegetable peeler
Steps
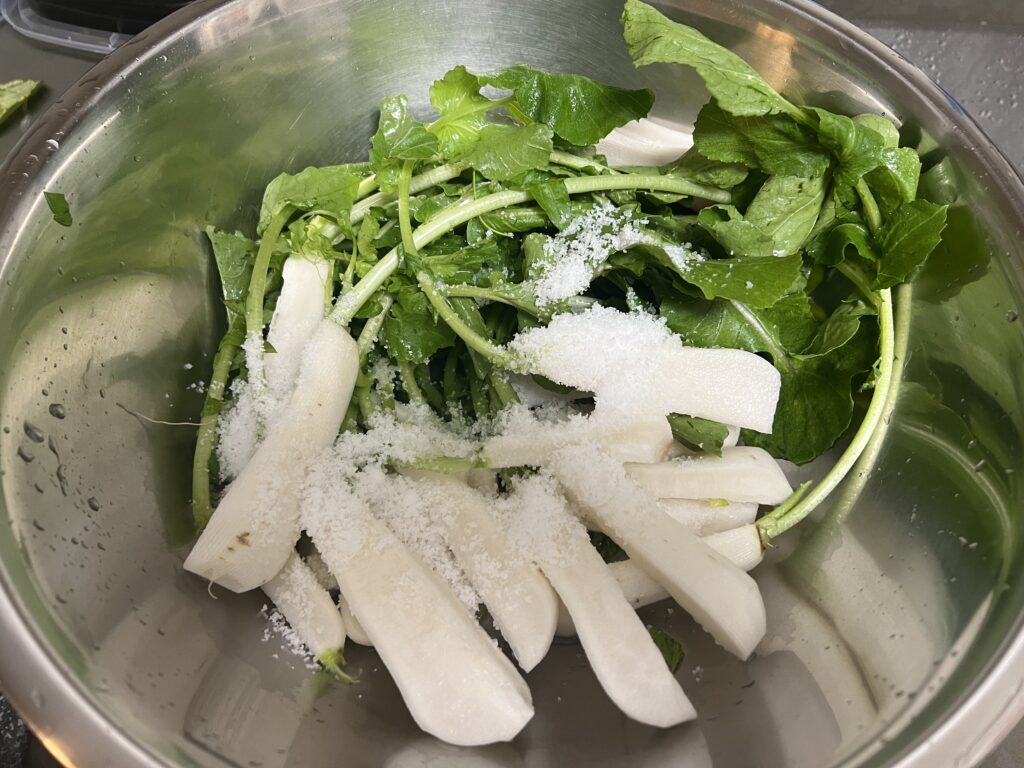
- Wash the ponytail radishes well by removing any dirt and bugs from the leaves and radishes. Using the vegetable peeler, peel the thin outer layer of the radishes. Be gentle and try not to tear off the leaves. On a cutting board, slice the radish bodies into half lengthwise, then into quarters again lengthwise. You should have 6 radishes x 4 cuts = 24 pieces after cutting. Place them into the large bowl and cover the bodies and leaves evenly with fine sea salt. Let the radishes sit for 30 minutes before mixing with your hands. Let it sit for another 30 minutes, 1 hour in total of salting time.
2. While the radishes are salting, make the rice porridge mixture in a small saucepan by mixing 1 cup of water and 1/8 cup of rice flour. On high heat and stirring continuously, bring the mixture to a boil. Once the water boils, lower the heat to low and add 2 tbsp of white sugar OR 1 tbsp of white sugar + 1 tbsp of oligosaccharide. Stir for another 2 minutes before removing from the heat.
3. In a food processor, add 3 cloves of peeled garlic, 2 inches of ginger (or 2 tbsp of grated ginger), and 1/2 an onion. Process until it is chopped finely into almost a paste.
4. Wash and peel a carrot before cutting it into fine matchsticks. Wash and cut three stems of spring onion into 1 inch pieces.
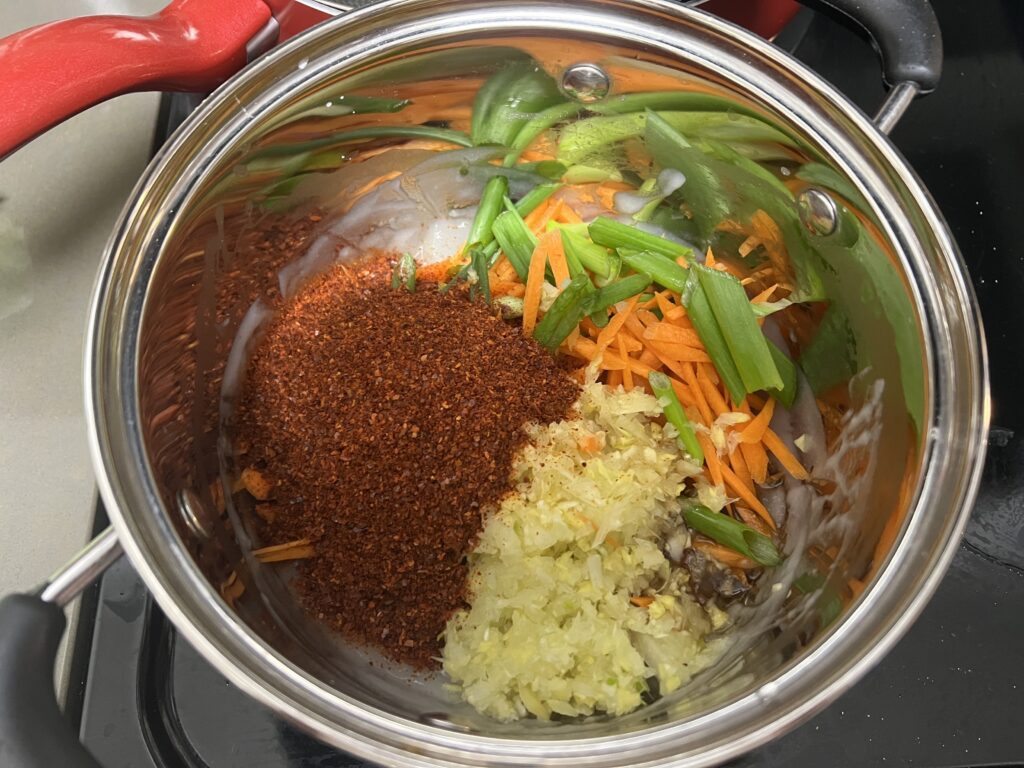
5. In the small saucepan with the rice porridge, add in 1/8 cup fish sauce, the garlic ginger onion paste, and 1/2 cup gochugaru. Mix everything together into a thick sauce.
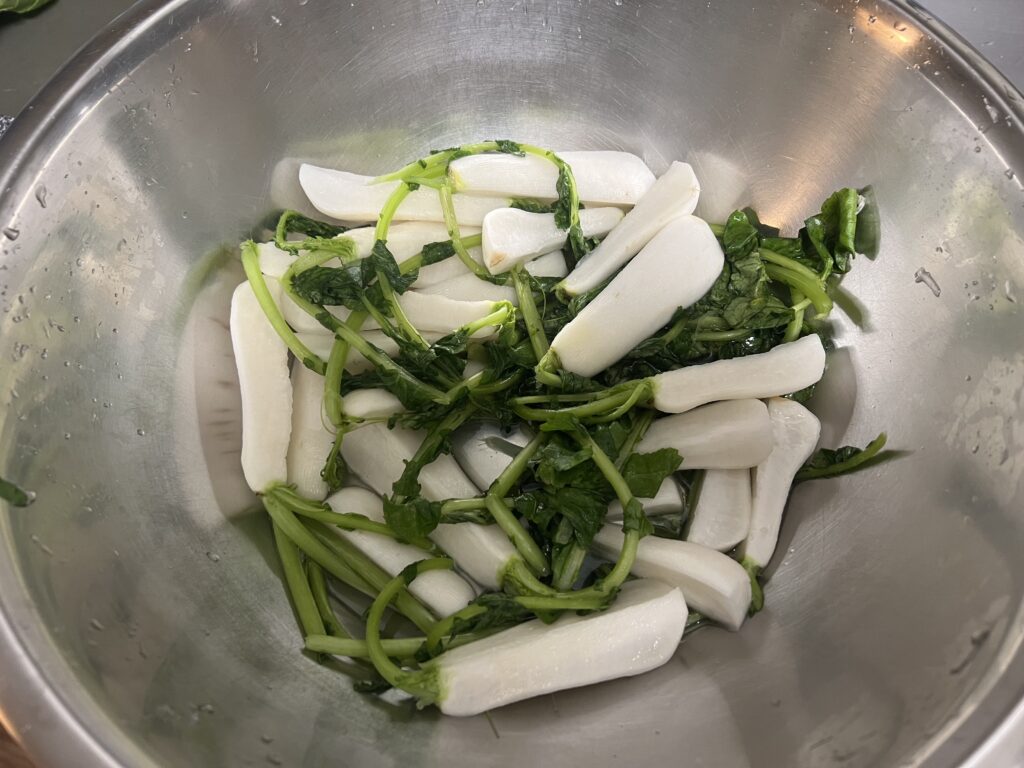
6. Once the ponytail radishes are done salting for 1 hour, rinse off the salt several times and gently squeeze any excess water out from the leaves. Add the gochugaru sauce, carrots, and spring onions to the radishes and cover the radishes well with the sauce.
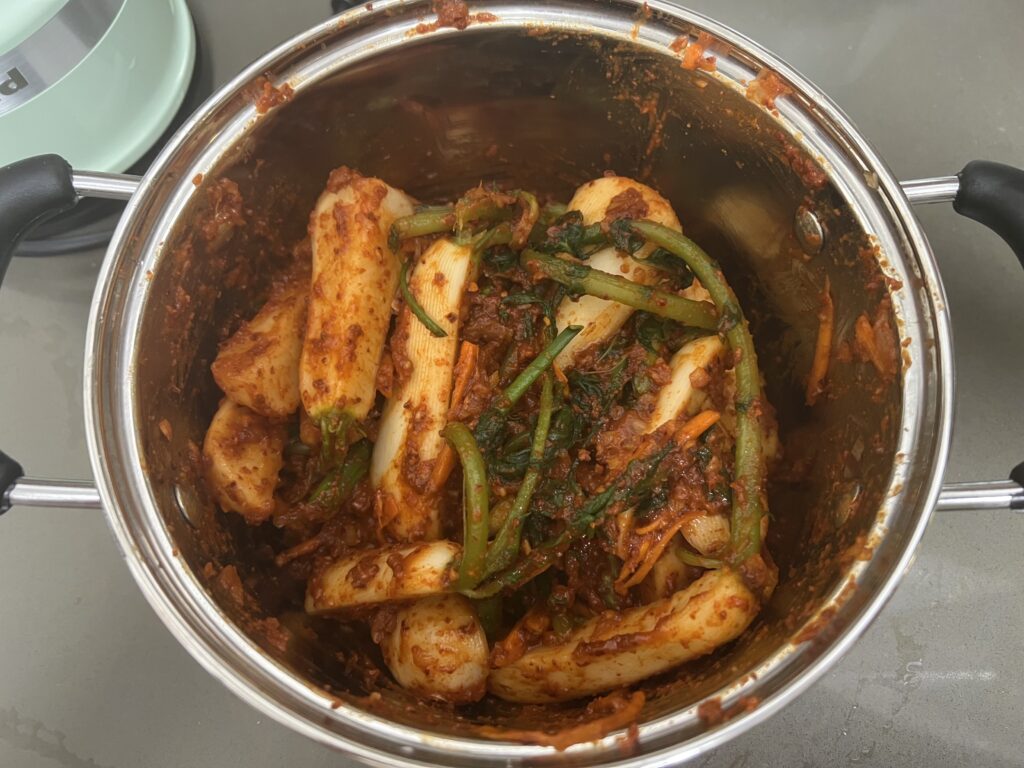
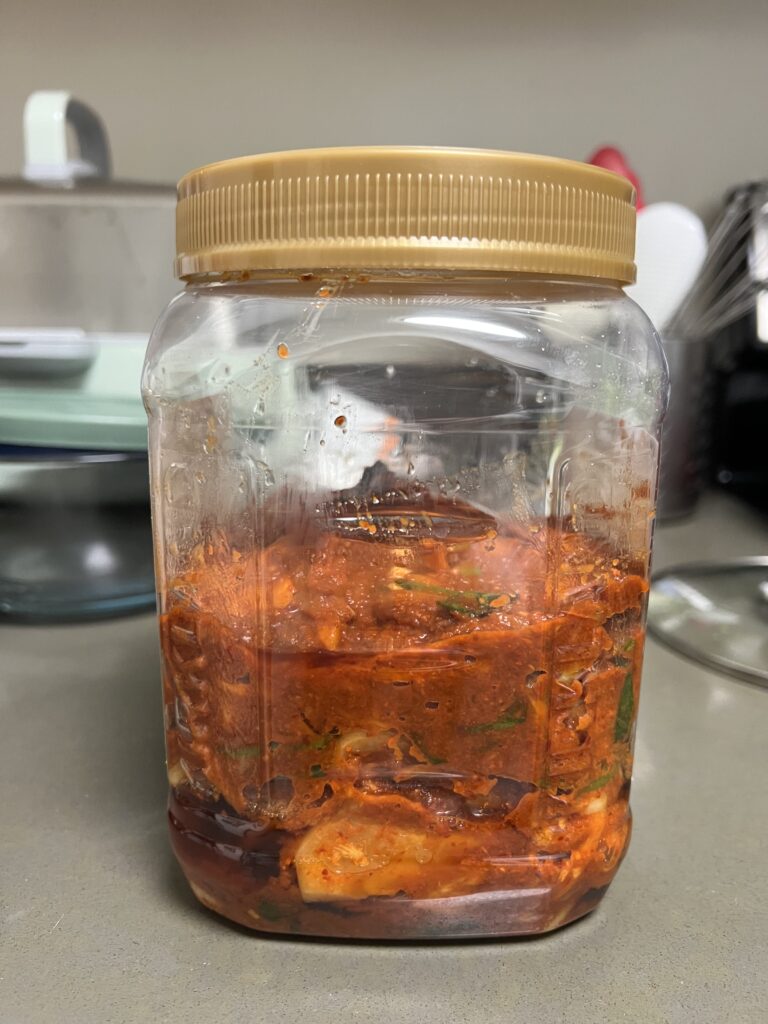
7. At this point, you can eat some of the radishes fresh or ferment some of them. To ferment the radishes, place them gently into the clean and dry plastic or glass container by wrapping their leaves around the bodies and placing them stacked on top of each other. Close the container tightly and place it into a cool and dark place for 2-3 days before storing into the fridge for up to a year.
Note: The fermenting time varies depending on the temperature, the warmer it is the faster they will ferment. When the radishes smell sour then the fermentation is complete. They will continue to soften and ferment in the fridge.